本文在边缘检测的基础上继续,即将上文边缘检测的结果(矩阵)输入,然后进一步发现轮廓并绘制
这里先将opencv库的加载设置为类的静态代码块,在相关方法代码体里面不再声明1
2
3
4
5
6
7
8static {
try {
NativeLoader.loadLibrary(Core.NATIVE_LIBRARY_NAME);
} catch (IOException e) {
// TODO Auto-generated catch block
e.printStackTrace();
}
}
下面是轮廓绘制的相关方法1
2
3
4
5
6
7
8
9
10
11
12
13
14
15
16
17/**
* 发现轮廓
* @param image
* @param onBlank
* @return
*/
static List<MatOfPoint> find_contours(Mat image, boolean onBlank) {
Mat imageBW = new Mat();
Imgproc.cvtColor(image, imageBW, Imgproc.COLOR_BGR2GRAY);
Imgproc.Canny(imageBW,imageBW,100.0,300.0,3, true);
List<MatOfPoint> contours = new ArrayList<MatOfPoint>();
Imgproc.findContours(imageBW, contours, new Mat(), Imgproc.RETR_EXTERNAL, Imgproc.CHAIN_APPROX_NONE);
return contours;
}
1 | static Scalar BLACK = new Scalar(0,0,0) ; |
1 | /** |
原图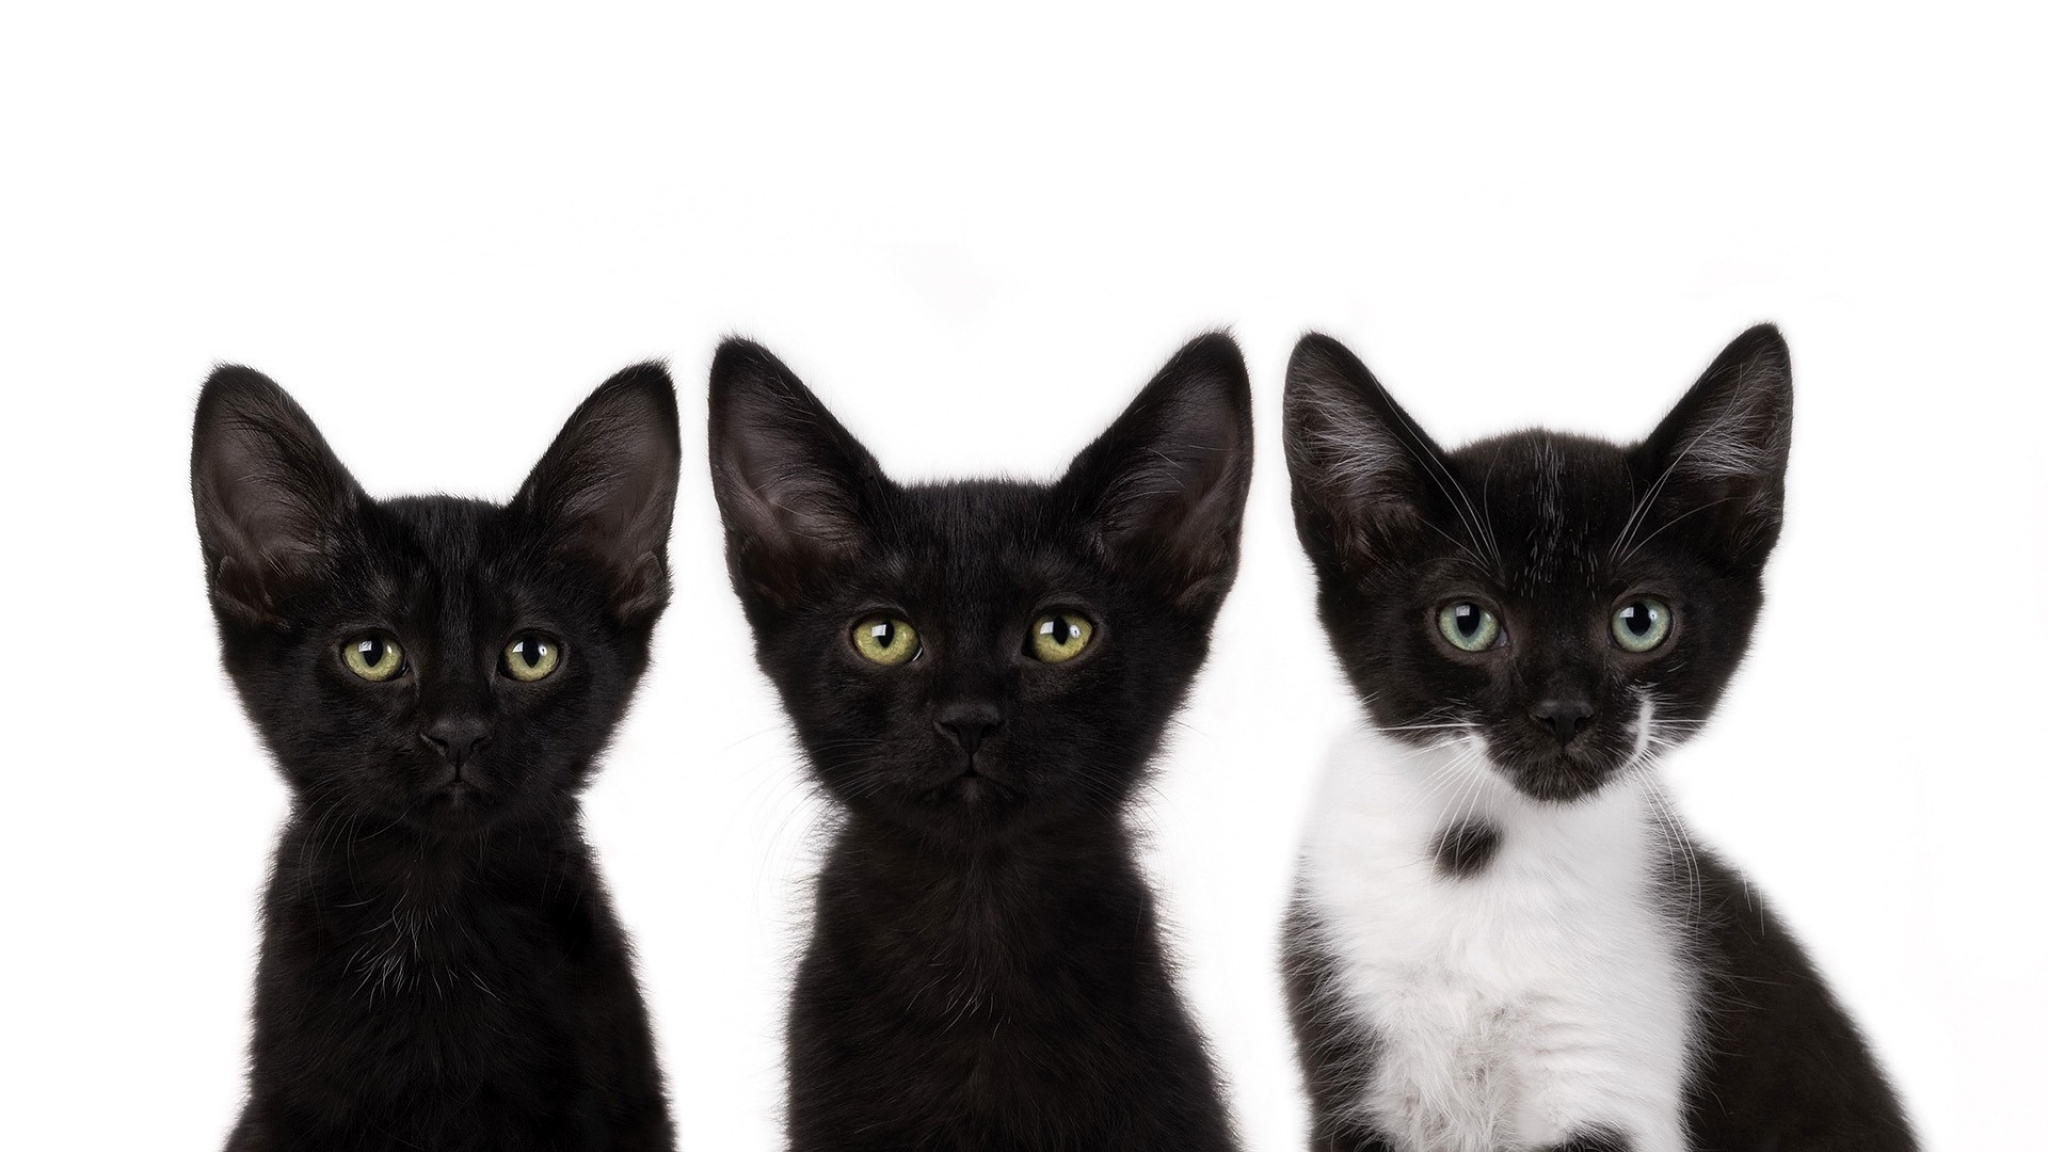
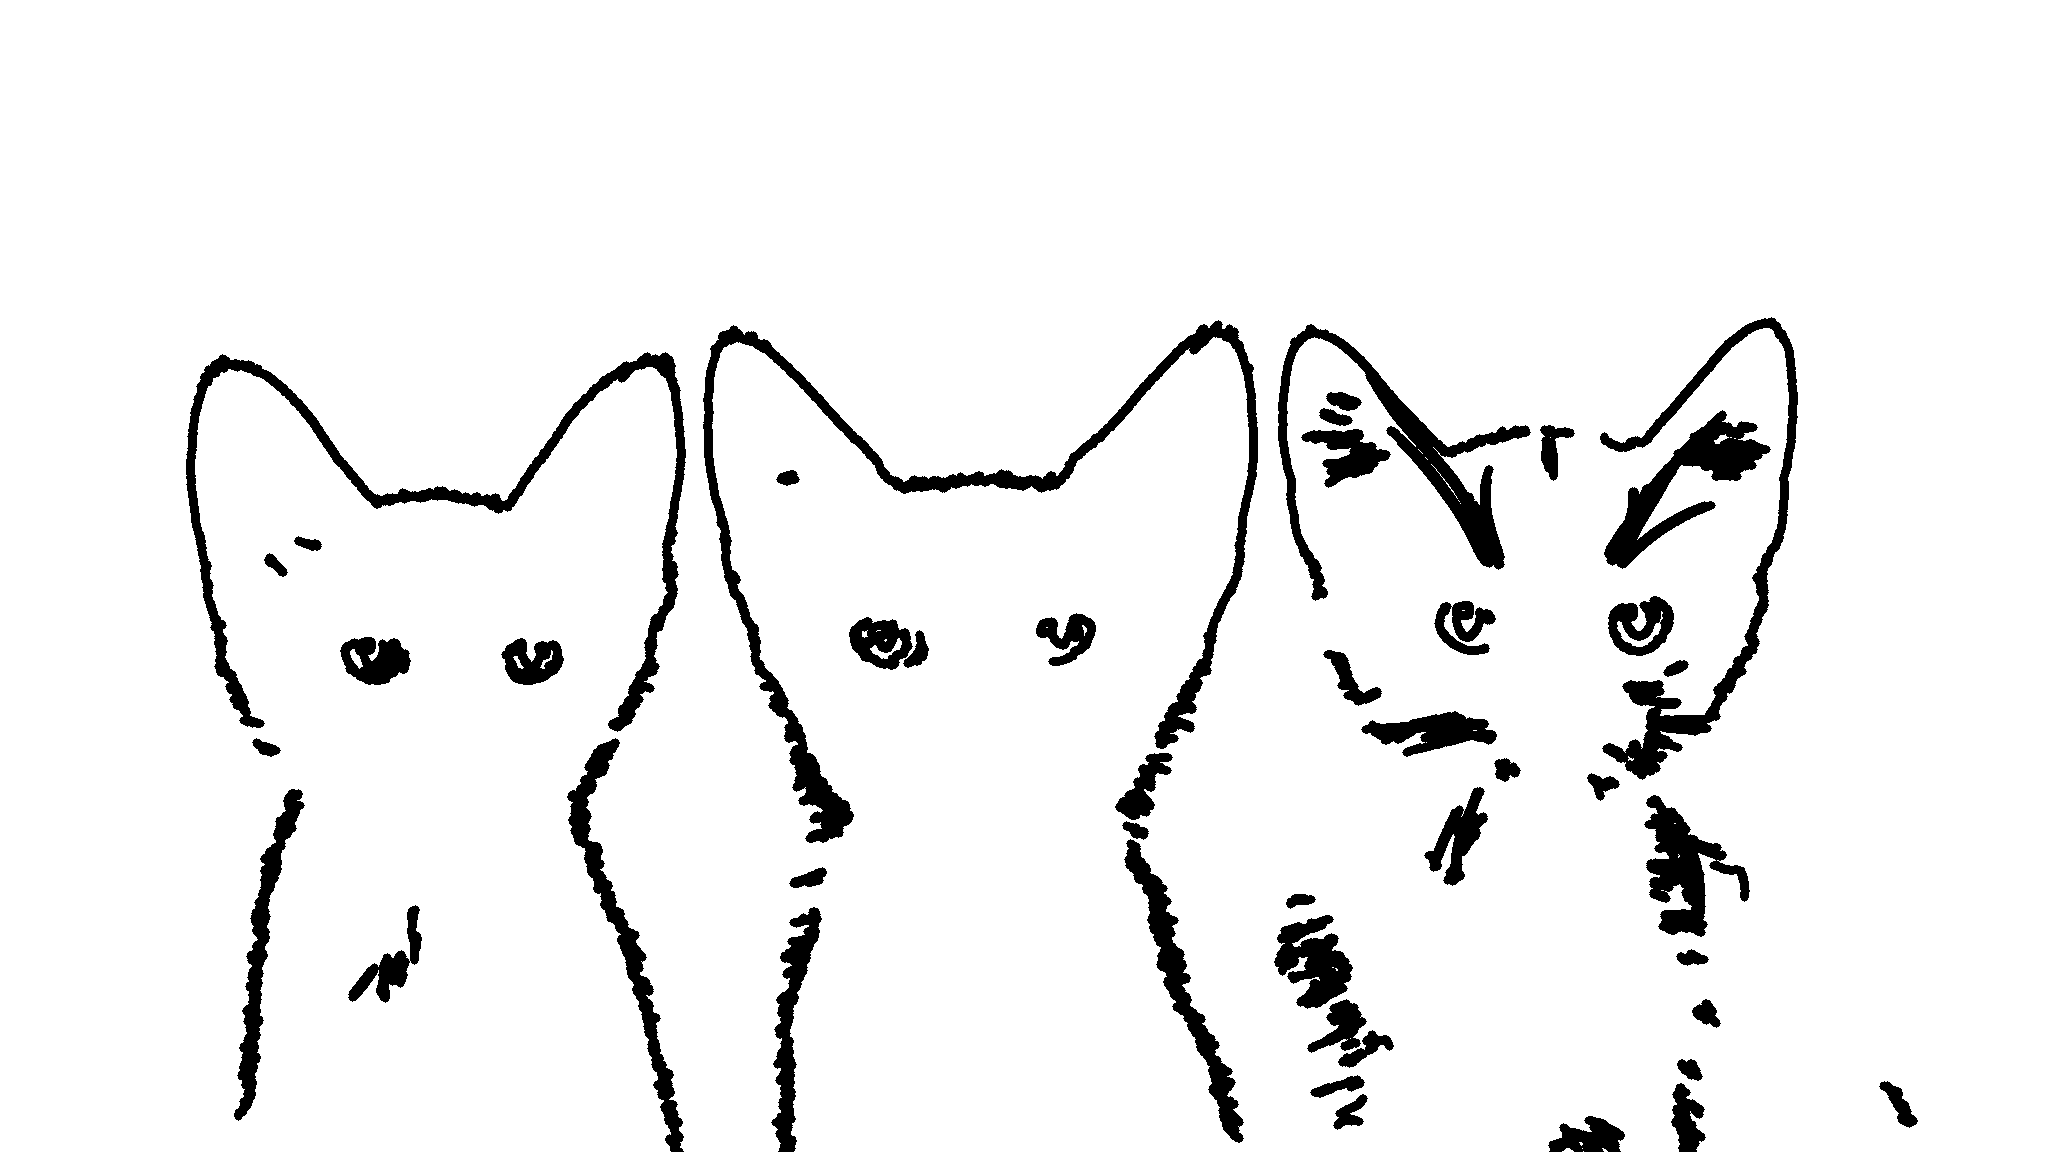
处理后
下面是使用掩模的输出1
2
3
4
5
6
7static Mat mask_on_bg(Mat mask, String backgroundFilePath) {
Mat target = new Mat(mask.height(),mask.width(),CvType.CV_8UC3,WHITE);
Mat bg = imread(backgroundFilePath);
Imgproc.resize(bg, bg, target.size());
bg.copyTo(target, mask);
return target;
}